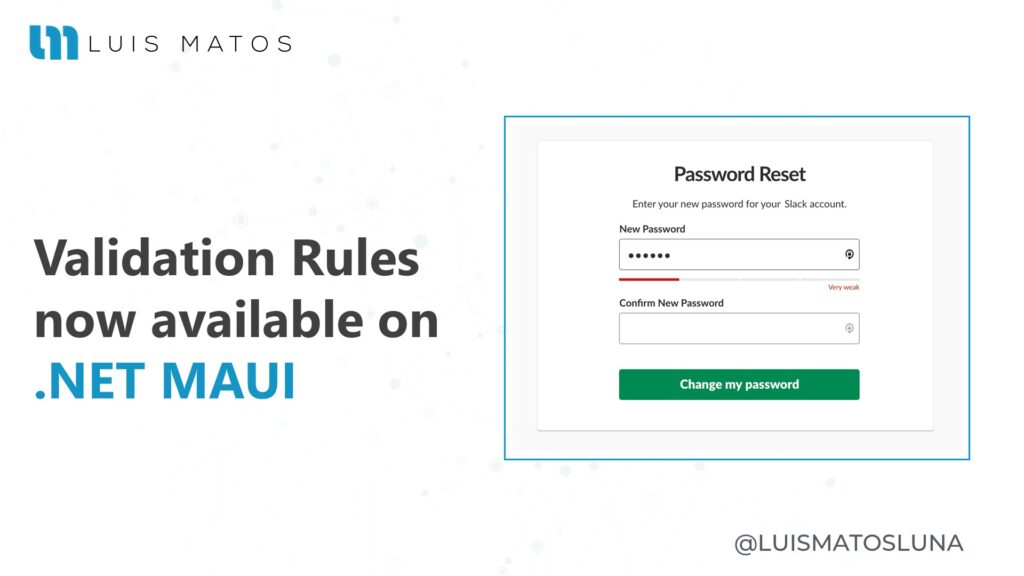
Improve the quality of your data using validation rules for .NET MAUI. Any app that accepts input from users should ensure that the input is valid. Without validation, a user can supply data that causes the app to fail. Validation enforces business rules and prevents an attacker from injecting malicious data.
This is a library I build with just one purpose: to make our life easier working with forms. The difference between this one and the others is that I can manage all the logic from my view model, so I can reuse the validation logic I implement there.
And now it’s available to you on .NET MAUI.
Validation rules verify that the input a user enters in a record meets the standards you specify before the user can save the record. A validation rule can contain your logic that evaluates the data in one or more fields and returns a value “True” or “False”. Validation rules also include an error message to display to the user when the rule returns a value “False” due to an invalid value.
You can specify the error message to display when an input fails validation and bind it to your UI to display it. Plugin.ValidationRules implement INotifyPropertyChanged. So, you don’t need to worry about the update your UI.
Cool, now that we have an understanding of validation rules we can start!
Set up
Assuming that we already have our project created and we already know what the validation rules are, then we can proceed to install the Plugin.ValidationRules for our application in 3 simple steps:
- In Solution Explorer, right-click on the project and select Manage NuGet Package…
- In the Search bar, type Plugin.ValidationRules or ValidationRules.
- Select and install the ValidationRules into your project.
How to use it
Rules
The library has the common rules that every project has, so maybe you don’t need to create a rule but if you do you have the option to do it. First of all, you need to add the rules you want to your project. For that, you must add a class that derives from ValidationRule<T> interface.
using Plugin.ValidationRules.Interfaces;

namespace ValidationRulesTest.Validations
{
    public class IsNotNullOrEmptyRule: IValidationRule<string>
    {
        public string ValidationMessage { get; set; }

        public bool Check(string value)
        {
            return !string.IsNullOrWhiteSpace(value);
        }
    }
}
Properties and rules
Once you have your rules, you need to create the properties you want to validate. Those properties must be a Validatable<T>. Your Properties don’t need to implement INotifyPropertyChanged interface. Plugin.ValidationRules has its implementation called ExtendedPropertyChanged. So, the plugin does the job for you.
Before adding a validation rule to a property, be sure that you initialize the property. After that, add as many rules as you want to a property.
using Plugin.ValidationRules;

namespace ValidationRulesTest.ViewModels
{
    public class Example1ViewModel
    {
        public Example1ViewModel()
        {
            Name = Validator.Build<string>()
                            .WithRule(new IsNotNullOrEmptyRule(), "A email is required.")
                            .WithRule(new EmailRule(), "Email is not valid.");
        }

        public Validatable<string> Email{ get; set; }
    }
}
Validating properties
To validate a property, just call the myProperty.Validate() method. You can do it manually and use it in your ViewModel or code-behind.
var isValidEmail = Email.Validate();
EXTRA: You can also add an EventToCommandBehavior and bind it to a command that calls the validate method.
<Entry Text="{Binding Email.Value, Mode=TwoWay}" >
  <Entry.Behaviors>
    <behaviors:EventToCommandBehavior EventName="Unfocused" Command="{Binding ValidateEmailCommand}" />
  </Entry.Behaviors>
</Entry>
Validation errors
If there is an error after the validation you can get it calling the list errors _myProperty.Errors in your code or calling the property _myProperty.Error to get the first or default error of the list.
List<string> errors = Email.Errors; // List of errors
string error = Email.Error; // First error
bool hasErrors = Email.HasErrors;
Displaying results
To bind your properties and errors to your XAML file; do it in the following way.
<Entry Text="{Binding Email.Value, Mode=TwoWay}" />
<Label Text="{Binding Email.Error}" TextColor="Red" HorizontalTextAlignment="Center" />
Final result

Conclusion
Plugin.ValidationRules is the easy way to add client-side validation of view model properties and notify the user of any validation errors by showing them the control that contains the invalid data.
Resouces
- Available on NuGet: Plugin.ValidationRules
- Repository: Validation Rules Plugin for .NET MAUI, Xamarin, and Windows
- Examples: Plugin.ValidationRules Samples
- Releases: Releases · ValidationRulesPlugin