Are you looking for a guide on how to use cPanel Git™ Version Control and GitHub? Here is an easy-to-follow blog post to help you get started. In it, I’ll be covering helpful information on how to set up your environment and configure the two most commonly used web hosting applications – cPanel & GitHub.
This comprehensive guide will help ensure that your project not only gets off the ground but runs seamlessly while also allowing team members easy access if needed.
Introduction
cPanel Git™ Version Control is an integrated version control system that allows developers to easily manage and track changes in their code. It is a powerful tool for teams to collaborate on projects and keep track of their progress.
With cPanel Git, developers can easily commit changes to the repository, view the history of commits, and revert to previous versions if needed. Additionally, cPanel Git offers features such as branching and tagging which allow developers to separate different versions of their project for testing or development purposes. This makes it easier for teams to work together on the same project without worrying about conflicting changes or losing progress. By using a version control system like cPanel Git, developers can ensure that they always have access to the latest version of their codebase and make sure that everyone is working on the same page.
Before you start
First, setting up both tools doesn’t have to be complicated – with just a few simple steps using either tool can quickly work in tandem enabling seamless collaboration between multiple developers working on various components simultaneously within one codebase!
So, before we start we need the following components
- The GitHub repository you are going to use.
- Terminal Access on your cPanel Account.
- An SSH connection between your GitHub repository and your cPanel Account.
SSH access to private repositories
For information on how to connect via SSH, review our SSH Access documentation. For information on how to connect to the cPanel Terminal, review our Terminal for cPanel documentation. Once you’ve successfully connected, continue following this guide, running the commands either in your SSH-connected command line interface or the cPanel Terminal.
- Run the following command to generate an SSH key file:
ssh-keygen -t rsa -f ~/.ssh/repo -b 4096 -C "username@example.com"
Note:
Replace repo with the name of the remote repository, username with your cPanel username, and example.com with your cPanel domain name.
2. You will then be prompted to “Enter a file in which to save the key.” You can specify a file location or press “Enter” to accept the default file location.
3. The next prompt will ask for a secure passphrase.
Note:
Don’t use passphrase because is not supported.
At this point, a new SSH key will have been generated at the previously specified file path.
Authorized your SSH Access on cPanel
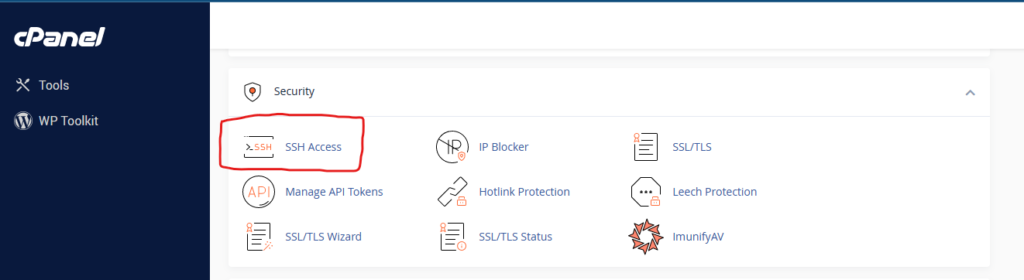
Once you have created your SSH Key you need to authorize it on cPanel. In order to do that, go to your cPanel Account and in the Security section, click on SSH Access and then click Manage SSH Keys.
Click the Manage button of the public key you have generated before and then click the Authorize button.

At this point you should View/Download your public key.
Register your SSH key with the private repository host
To register an SSH key with GitHub, perform the following steps:
- Log in to your GitHub account.
- Navigate to your private repository.
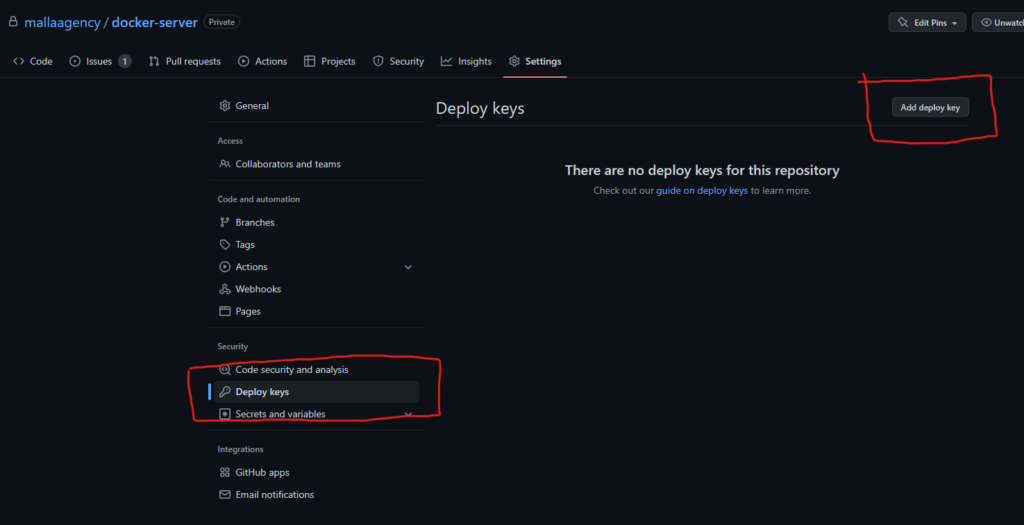
- In the top right corner of the page, click Settings. A new page will appear.
- On the left side menu, click Deploy keys. A new page will appear.
- In the top right corner of the page, click Add deploy key. A new page will appear.
- In the Title text box, enter a display name for the key.
- In the Key text box, paste the entire public SSH key from the
~/.ssh/repo.pubfile you created in the previous step. - If you want to push code from your cPanel account to your GitHub account, select the Allow write access checkbox.
- Click Add key.
Warning:
When you copy/paste your key, be sure to avoid adding an extra line/space.
To test your SSH key, run the following command:
ssh -i ~/.ssh/repo -T git@example.com
Set up access to multiple repositories
To create an SSH key for each of your repositories, follow the steps outlined above. After you have added the keys to the remote repositories, create a local ~/.ssh/config file to alias each of the keys to their corresponding repository names.
For example, if you have two repos configured on GitHub, testing and testing2, and both your cPanel and GitHub usernames are cptest, create or modify the ~/.ssh/config file with these contents:
Host alias1.github.com
        Hostname github.com
        IdentityFile=/home/cptest/.ssh/testing

Host alias2.github.com
        Hostname github.com
        IdentityFile=/home/cptest/.ssh/testing2
To test your SSH key, run the following command:
ssh -i ~/.ssh/testing -T git@alias1.github.com
The Guide
Info:
Create and manage Git™ repositories. You can use Git to maintain any set of files and track the history of changes from multiple editors (version control). For more information, read the documentation.
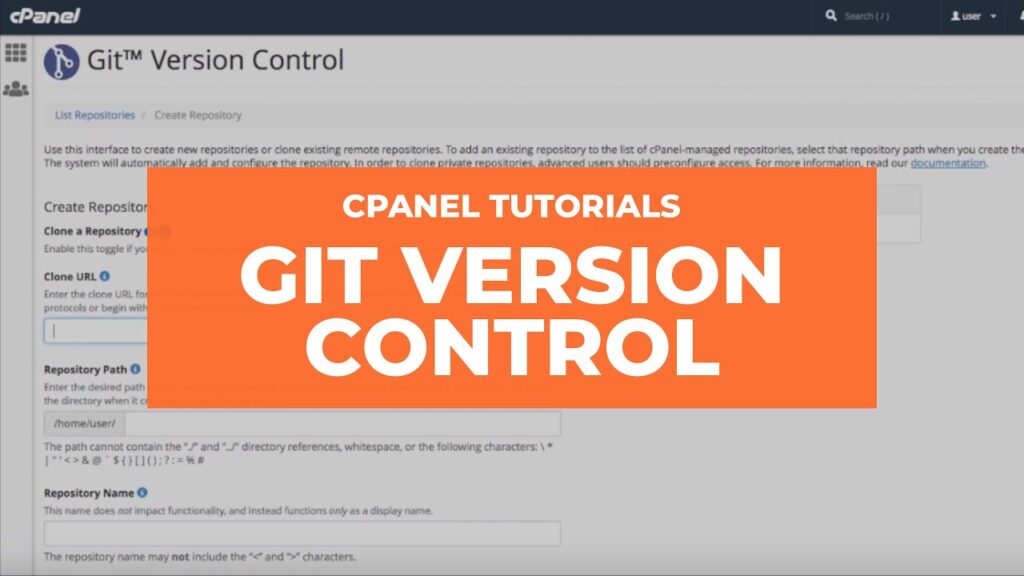
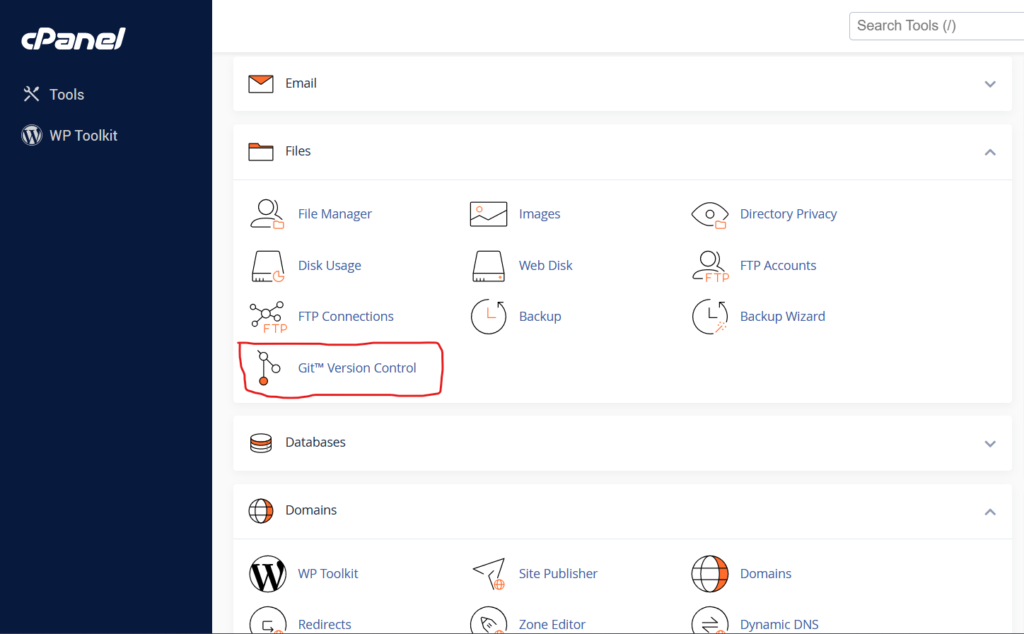
The first step in setting up version control with cPanel is creating a repository within the interface. To do this, log into your cPanel account and navigate to “Git™ Version Control” under the Files tab.
Once there, click “Create” and look for the Git Repo Clone URL of your preference.
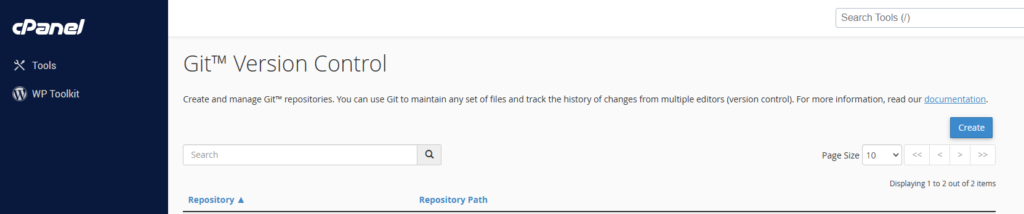
After that, make sure all the necessary fields have been populated correctly – usually only the project URL needs to be updated – before clicking “Create“.

Warning:
If you are using multiple repository’s configuration make sure to use the alias you set before on your ~/.ssh/config file for the Clone URL.
For example,
git@alias.github.com:user/repository.git
At this point, you should see your repository on the Repository List.
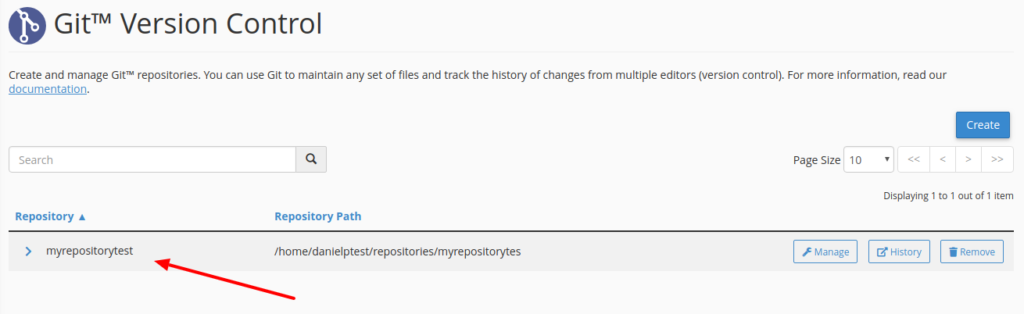
The manage button leads to a page from where you can manage your repository:
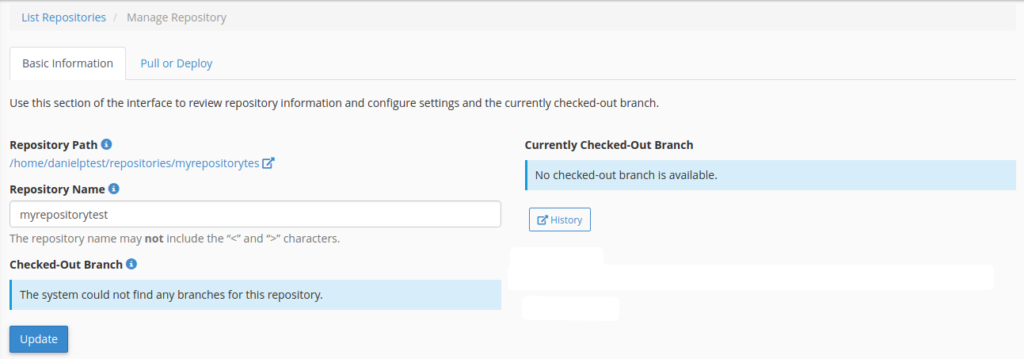
The history button will show you a history of all changes made to your repository.
Pull or Deploy
Info:
Use this section of the interface to deploy changes or pull them from remote repositories. For more information, read the documentation.
Once you’ve finished editing your new site, you’ll want to deploy it to production. You could manually copy the site’s files to public_html, but cPanel Git Version Control can automate the deployment process.
In your local project folder, create a file called .cpanel.yml. This file tells cPanel which code to deploy and where to put it. In the simplest case, it looks like this.
---
deployment:
  tasks:
    - export DEPLOYPATH=/home/example/public_html/
    - /bin/cp index.html $DEPLOYPATH
Here we’re copying our index.html file into public_html. It’s unlikely that your deployment process is that simple, and you can learn more about the deployment file format in Guide to Git – Deployment.
With the .cpanel.yml file in place, cPanel automatically deploys changes when they are pushed from local development machines to the server. If you preferred to choose when the code is deployed, you can use a pull deployment method described in our Deployment documentation.
You can also manually deploy code at any time. Open Git Version Control in cPanel and click the Pull or Deploy tab. At the bottom of the page, there is a button called Deploy Head Commit. Clicking it deploys your latest code as described in the YAML configuration file.
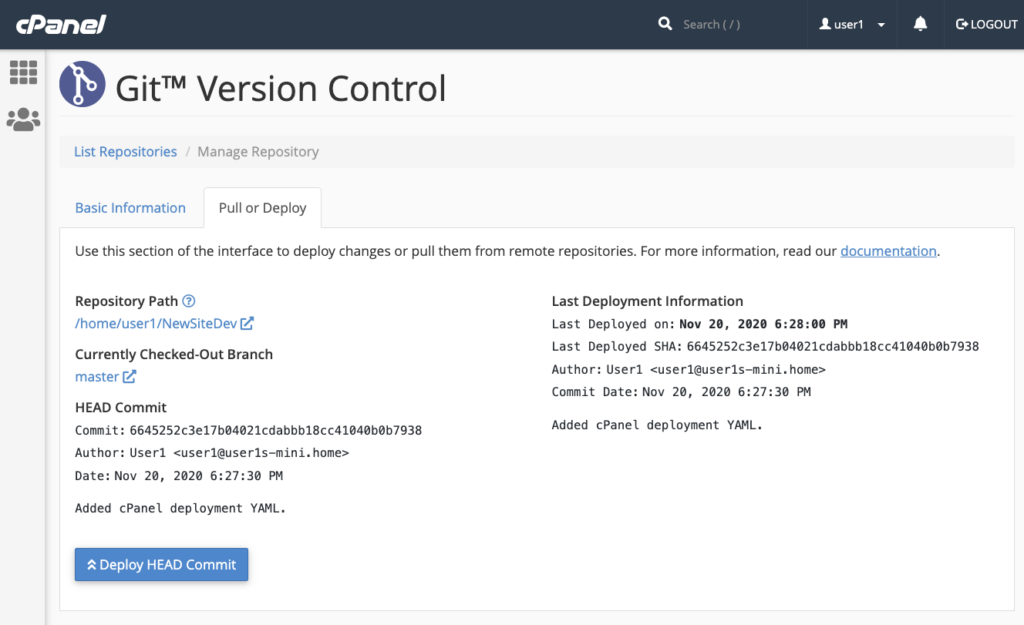
This tab also displays information about the last successful deployment and the commit that kicked it off.
Conclusion
This is the end of this tutorial. If you run into any difficulties, you can always write me on Twitter or LinkedIn. I will gladly assist you.
Good luck in your app development!