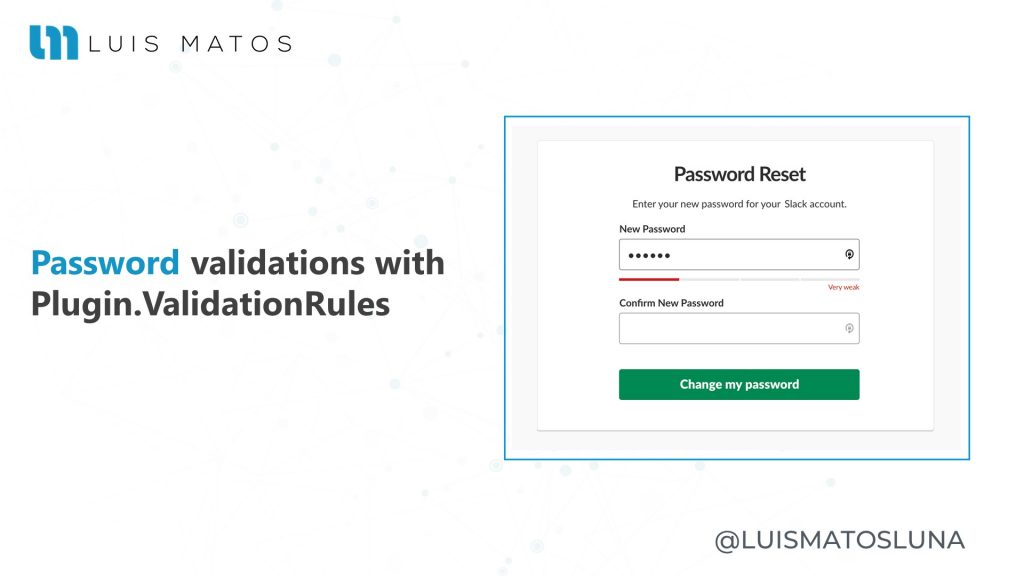
Learn how to apply validation rules to your app passwords in Xamarin.Forms. The best, and fastest, way is to use the library Plugin.ValidationRules.
This article uses the library Plugin.ValidationRules to download from the NuGet Gallery here.
This article is part of a small series that I call “Tips and Tricks with Plugin.ValidationRules“ where I will teach you how to get the most out of this library so that you do not have headaches doing validations in your forms.
Validating the password
Creating the validation rule
The first thing we have to keep going is that if you want to play with validation rules, you have to create your rules. In this case, I’ll give you a small example of a validation rule for passwords that you can use with Plugin.ValidationRules.
...
    public class PasswordRule : IValidationRule<string>
    {
        public string ValidationMessage { get; set; }

        public bool Check(string value)
        {
            if (value == null)
            {
                ValidationMessage = "A password is required.";
                return false;
            }

            if (!char.IsLetter(value[0]))
            {
                ValidationMessage = "First character must be a letter.";
                return false;
            }

            if (!char.IsUpper(value[0]))
            {
                ValidationMessage = "First letter must be Capitalize.";
                return false;
            }

            if (value.Length < 8)
            {
                ValidationMessage = "Password length must be 8 characters minimum.";
                return false;
            }

            if (!value.Any(char.IsDigit))
            {
                ValidationMessage = "Your password must contain numbers.";
                return false;
            }

            if (!value.Any(char.IsSymbol) && !value.Any(char.IsPunctuation))
            {
                ValidationMessage = "Your password must contain symbols.";
                return false;
            }

            return true; // Yupiii ! We did !!!
        }
    }
...
Applying validation rules
With the new version of the Plugin.ValidationRules we have a builder that we can use to initialize our properties very easily.
...
        public Validatable<string> Password { get; set; }
        public Validatable<string> ConfirmPassword { get; set; }
...
        Password = Validator.Build<string>()
                .IsRequired("A password is required.")
                .WithRule(new PasswordRule());

        ConfirmPassword = Validator.Build<string>()
                .When(_ => !string.IsNullOrEmpty(Password.Value))
                .Must(x => x == Password.Value, "Password is not matching.");
...
- Notice that we are using Validator.Build<string>() to initialize our property.
- We use the extension . IsRequired() to add a non-null or empty validation rule.
- With the extension . WithRule() we added our validation rule PasswordRule() for the password property we created earlier.
Extra: ConfirmPassword
If we want to confirm the password, we do not have to add the same rules but rather, compare both passwords. Let’s see it below:
- We are using the extension .When() to validate our password confirmation only when the password property is not empty.
- With the extension . Must() validates that both passwords provided by the user match.
TIP:
The extension .Must() is used to add validations without having to create rules. It is very useful for when you are going to validate very specific things and do not want to complicate yourself much.
Applying changes in our UI
In our XAML we can have something similar to this to link the validations.
...
           <Entry Placeholder="Password" Text="{Binding Password.Value}" />
           <Label  Text="{Binding Password.Error}" TextColor="Red" />
...
With this, we would have the validations working for us. Tell me if it’s not really easy.
Conclusions
You can see all the code here.
In the same way, I invite you to do these validations without the Plugin.ValidationRules library so that you can notice the difference and how much it helps us.
Nothing enjoy. If you want more tips like these let me know in the comments or on my Twitter, I am being very active there.
Remember that your interactions are what help me know where to direct content. In the end, the idea is to help as much as we can.
I hope you find this video useful. A hug, and until next time.


