Learn how to apply masks and validation rules to phone number entries in our forms in Xamarin.Forms. The best and fastest way is to use the library Plugin.ValidationRules.
Many people do not even know the concept of what validation rules are, and if you are one of them I recommend that you see all the content that I have developed for you. It saves you a lot of time in your day-to-day life as a developer.
This is the beginning of a small series that I call “Tips and Tricks with Plugin.ValidationRules” where I will teach you how to get the most out of this library so that you do not have headaches doing validations in your forms.
Validating the phone number
The first thing we have to know is that with the new version of Plugin.ValidationRules we have a builder that we can use to initialize our properties very easily.
...
            public Validatable<string> Phone { get; set; }
...
            Phone = Validator.Build<string>()
                .When(x => !string.IsNullOrEmpty(x))
                .Must(x => x.Length == 12, "Minimum lenght is 12.");

            Phone.ValueFormatter = new MaskFormatter("XXX-XXX-XXXX");
...
- Notice that we are using Validator.Build<string>() to initialize our property.
- In the same way, we are using the .When () extension to validate our phone number only when the property is not empty (mostly this field is optional, but it will depend on your logic).
- We also use the .Must () extension to add a validation without having to create a validation rule (if your rule is going to be used in several parts of your Better project create a rule).
- And finally we are using the ValueFormatter property to add a format to our data. In our case, the library already comes with a Formatting Mask called MaskFormatter that receives “ X ” as a mask parameter. With this we can define the format of our phone.
In our XAML we can have something similar to this to bind the validations.
...
           <Entry Placeholder="Phone" Text="{Binding Phone.Value}" />
           <Label  Text="{Binding Phone.Error}" TextColor="Red" />
...
With this, we would have the validations working for us. Tell me if it’s not really crazy.
You can see all the code here.
Extra
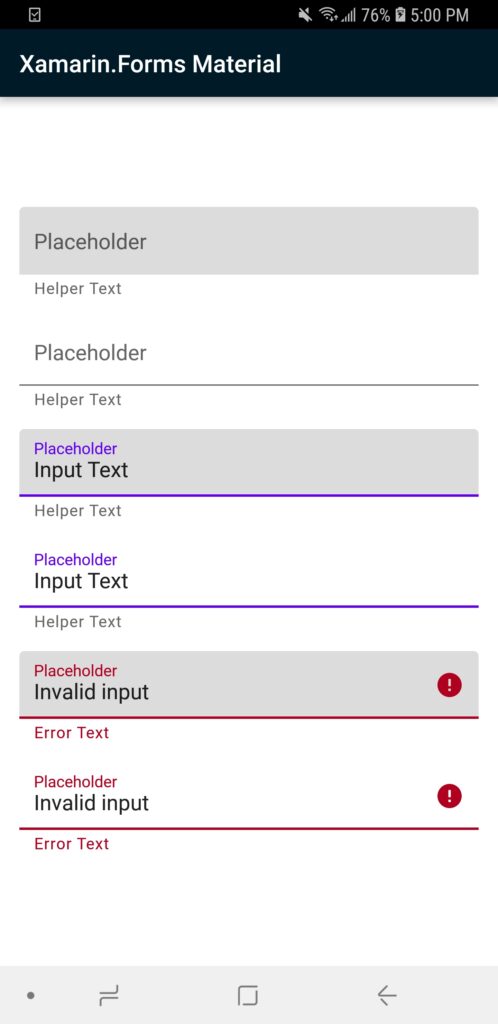
As an extra tip, there is an XF-Material-Library control which is the MaterialTextField. With this control, you don’t need to worry about how to display your errors.
...
                     <mtrl:MaterialTextField
                                ErrorText="{Binding PhoneNumber.Error}"
                                HasError="{Binding PhoneNumber.HasErrors}"
                                HelperText="Enter your phone number here."
                                InputType="Numeric"
                                MaxLength="12"
                                Placeholder="Phone number"
                                Text="{Binding PhoneNumber.Value}" />
...
Enjoy. If you want more tips like these, let me know in the comments or in my twitter, I’m being very active over there.
Remember that your interactions are what help me know where to direct the content. In the end, the idea is to help as much as we can.
I hope this video is useful to you. A hug and see you soon.